
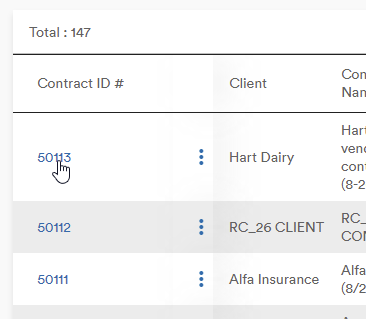
Welcome to the new home of Contracts. Selecting the module icon from the left-hand menu displays the search menu and the total number of available Contracts
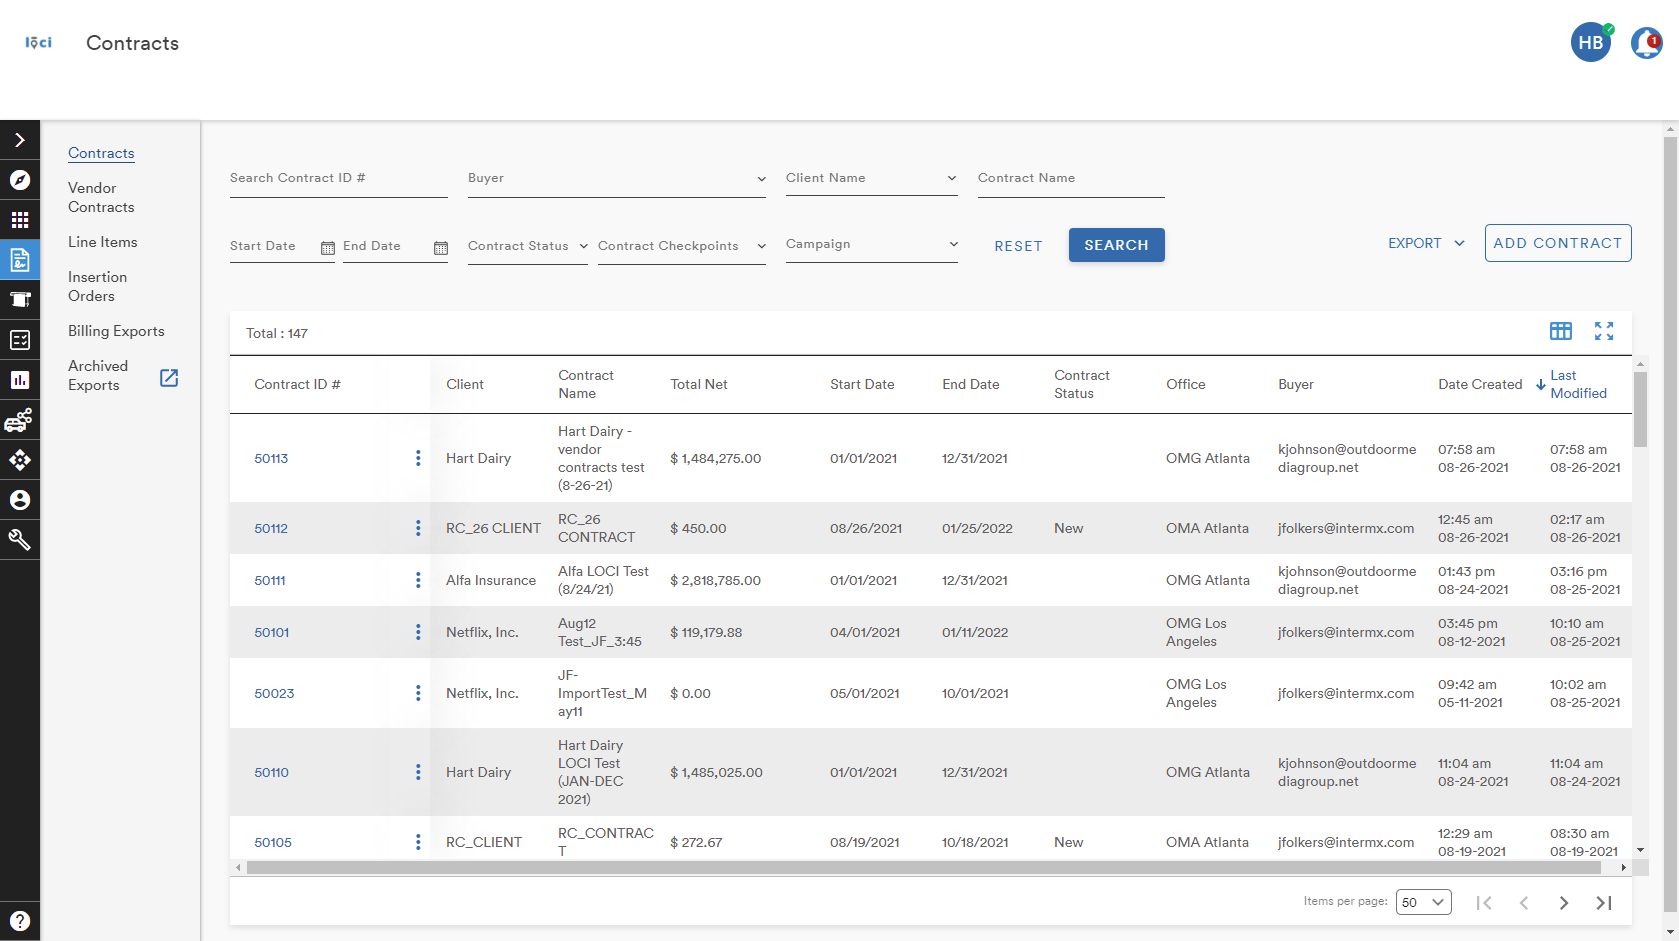
The search menu allows users to search by
- Contract ID #
- Buyer (from a dropdown list)
- Client Name (from a dropdown ist)
- Contract Name
- Start and End Dates (with date picker)
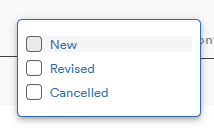
- Contract Status
- New
- Revised
- Cancelled
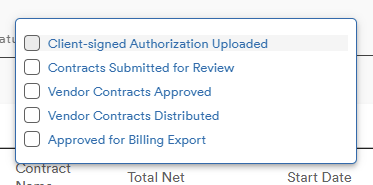
- Contract Checkpoints (learn about Checkpoints here)
- Campaign (from the user's Workspace)

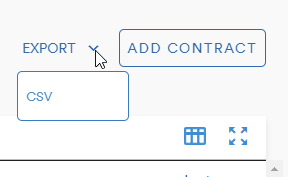
To the right of the search menu are the options to Export the contract table as a CSV or Add a Contract
Contract Table
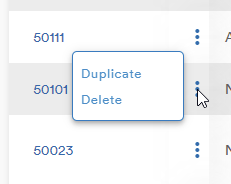
Next to each Contract ID # is an action button (three stacked dots) with two options: Duplicate and Delete
Selecting the Contract ID opens the Contract Record
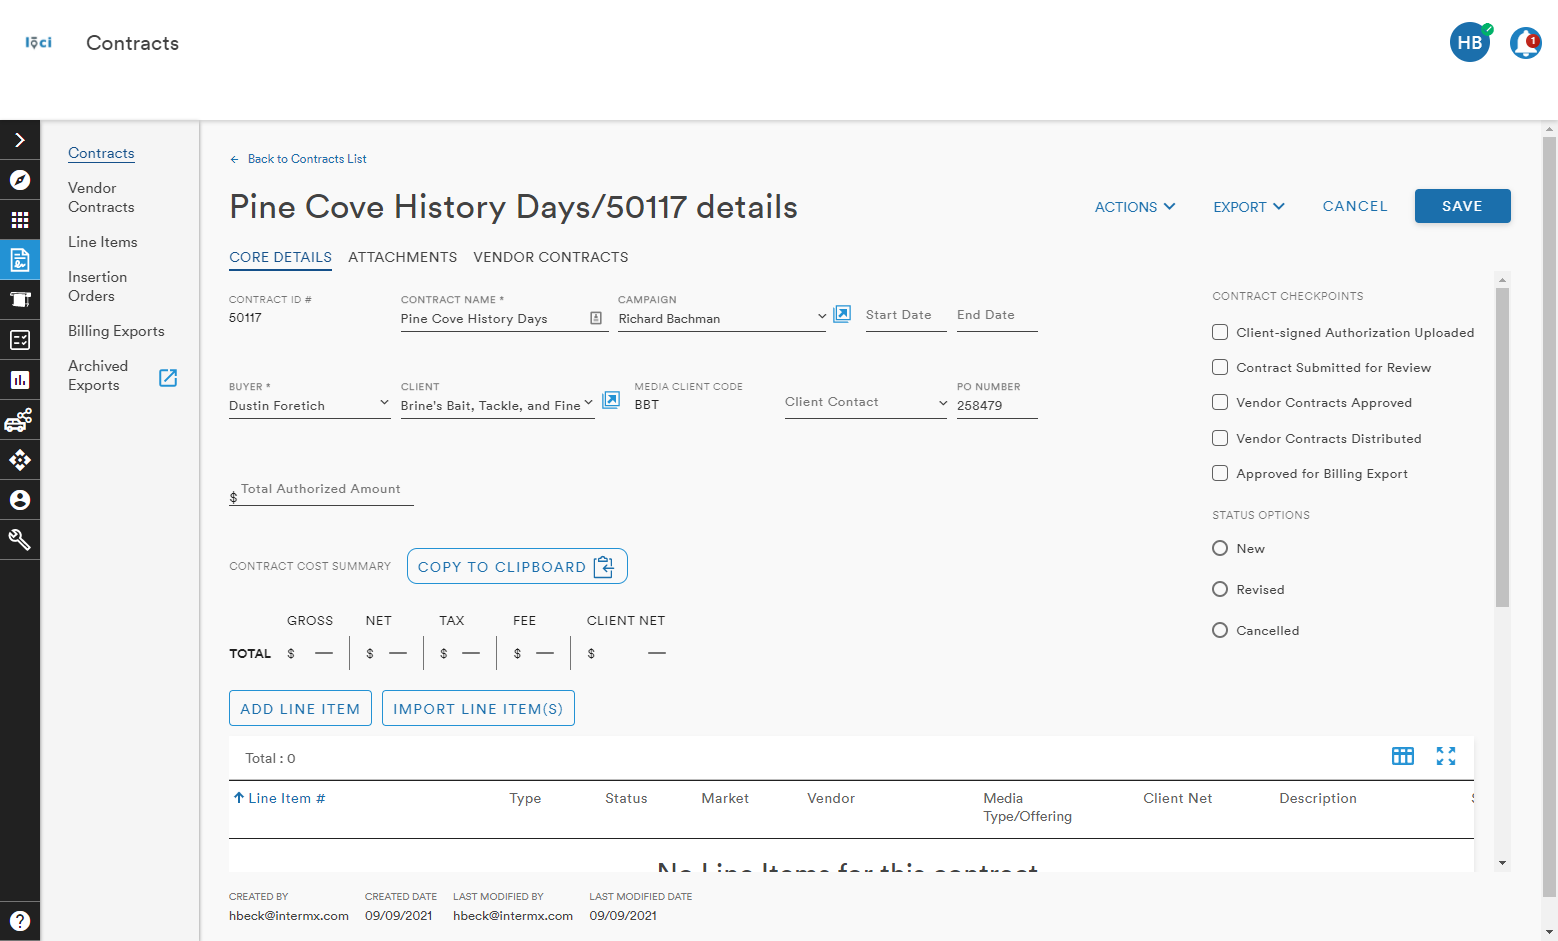
Core Details
The Core Details tab is the main landing page for any Contract
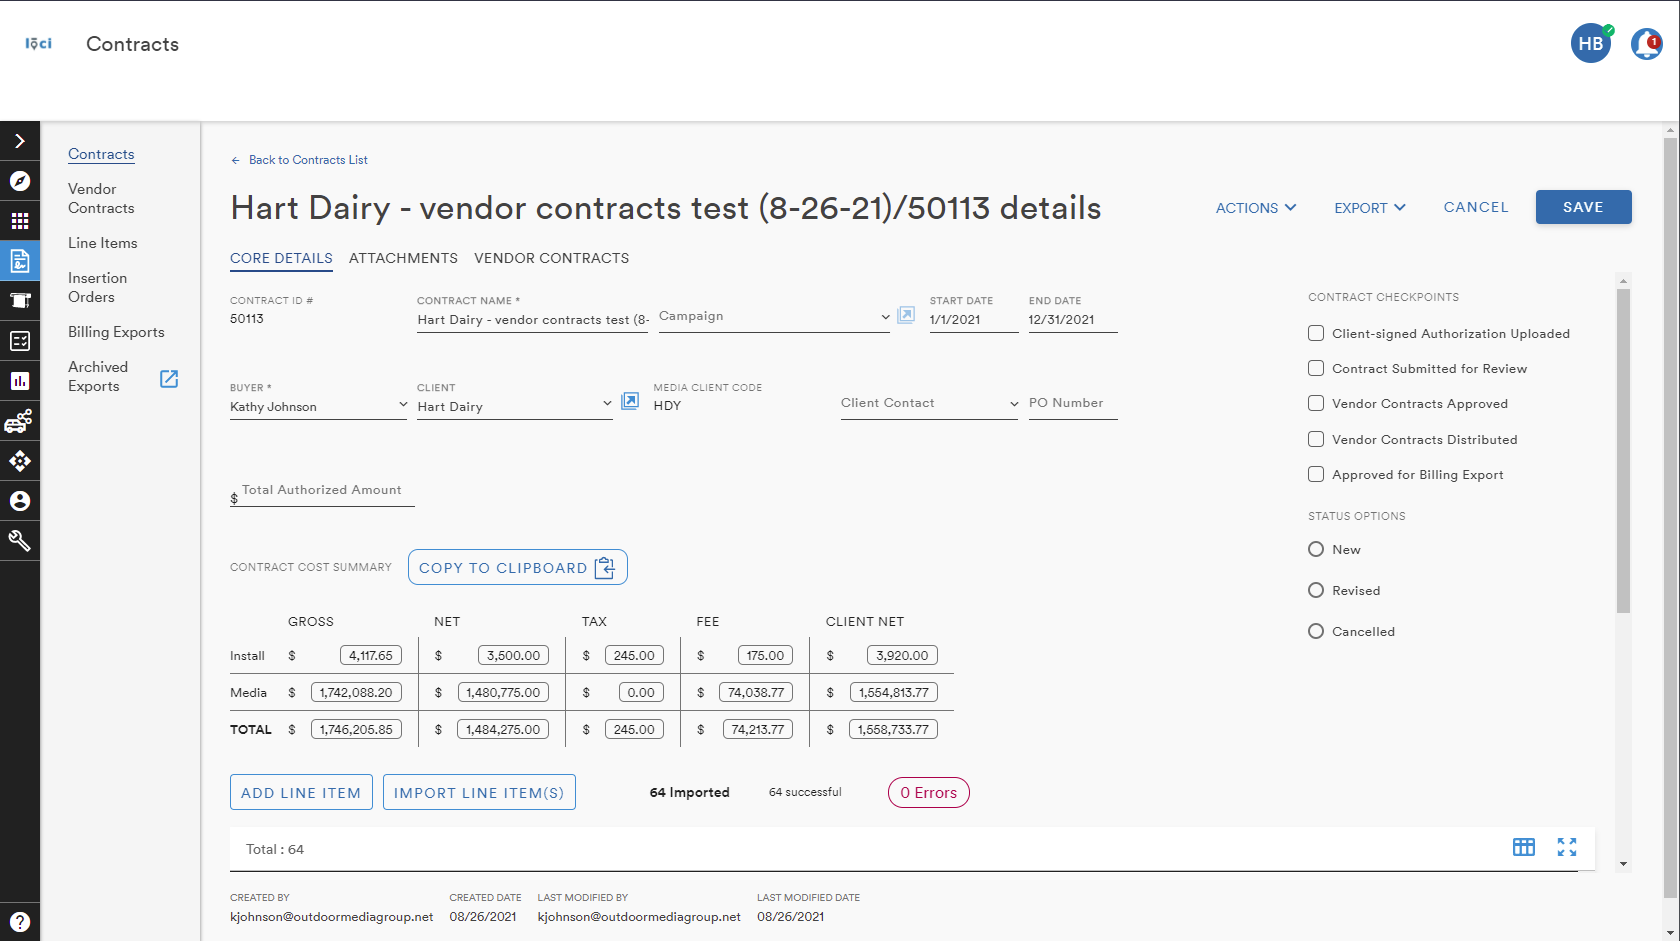
In the upper half of the screen, users can:
- View and edit the details of the contract
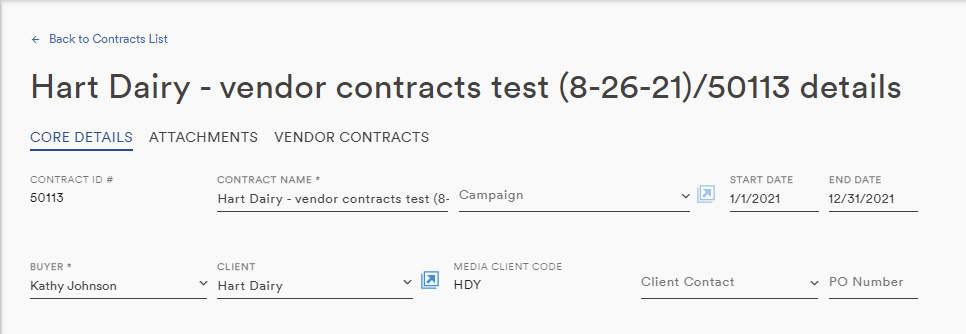
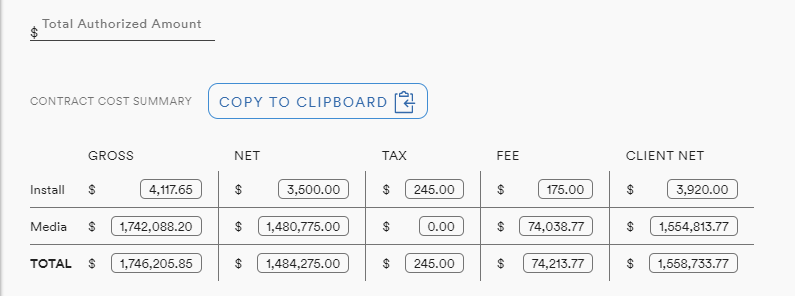
- View the cumulative cost values of the Contract's Line Item(s)
- Track the contract as it moves through the Jobs lifecycle
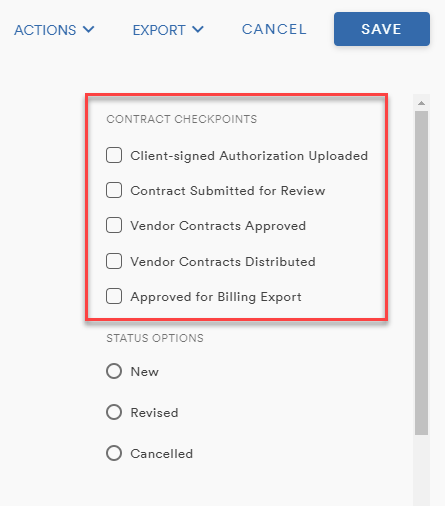
(for more on Checkpoints, check here)
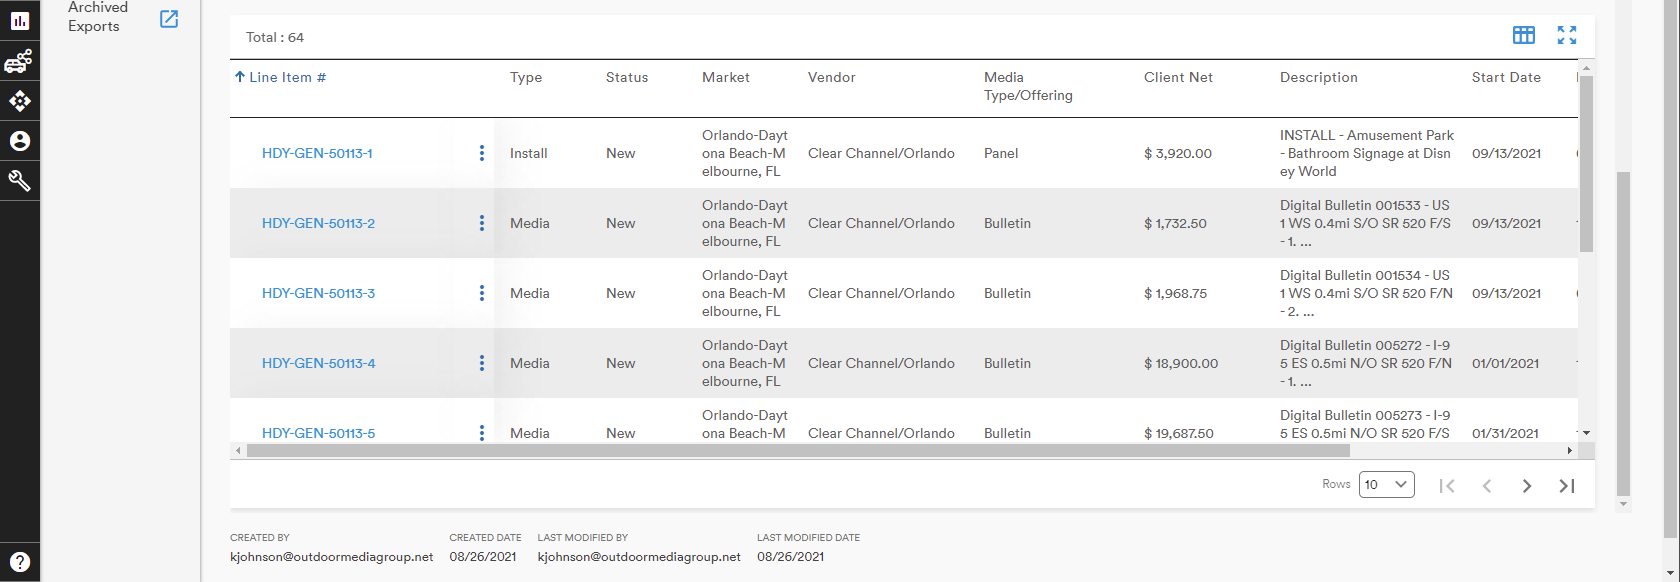
If a new, over several new, Line Item is needed, users can follow the Add Line Item and Import Line Item workflows
Attachments
The Attachments tab brings up the screen on which relevant files can be added to the Contract Record
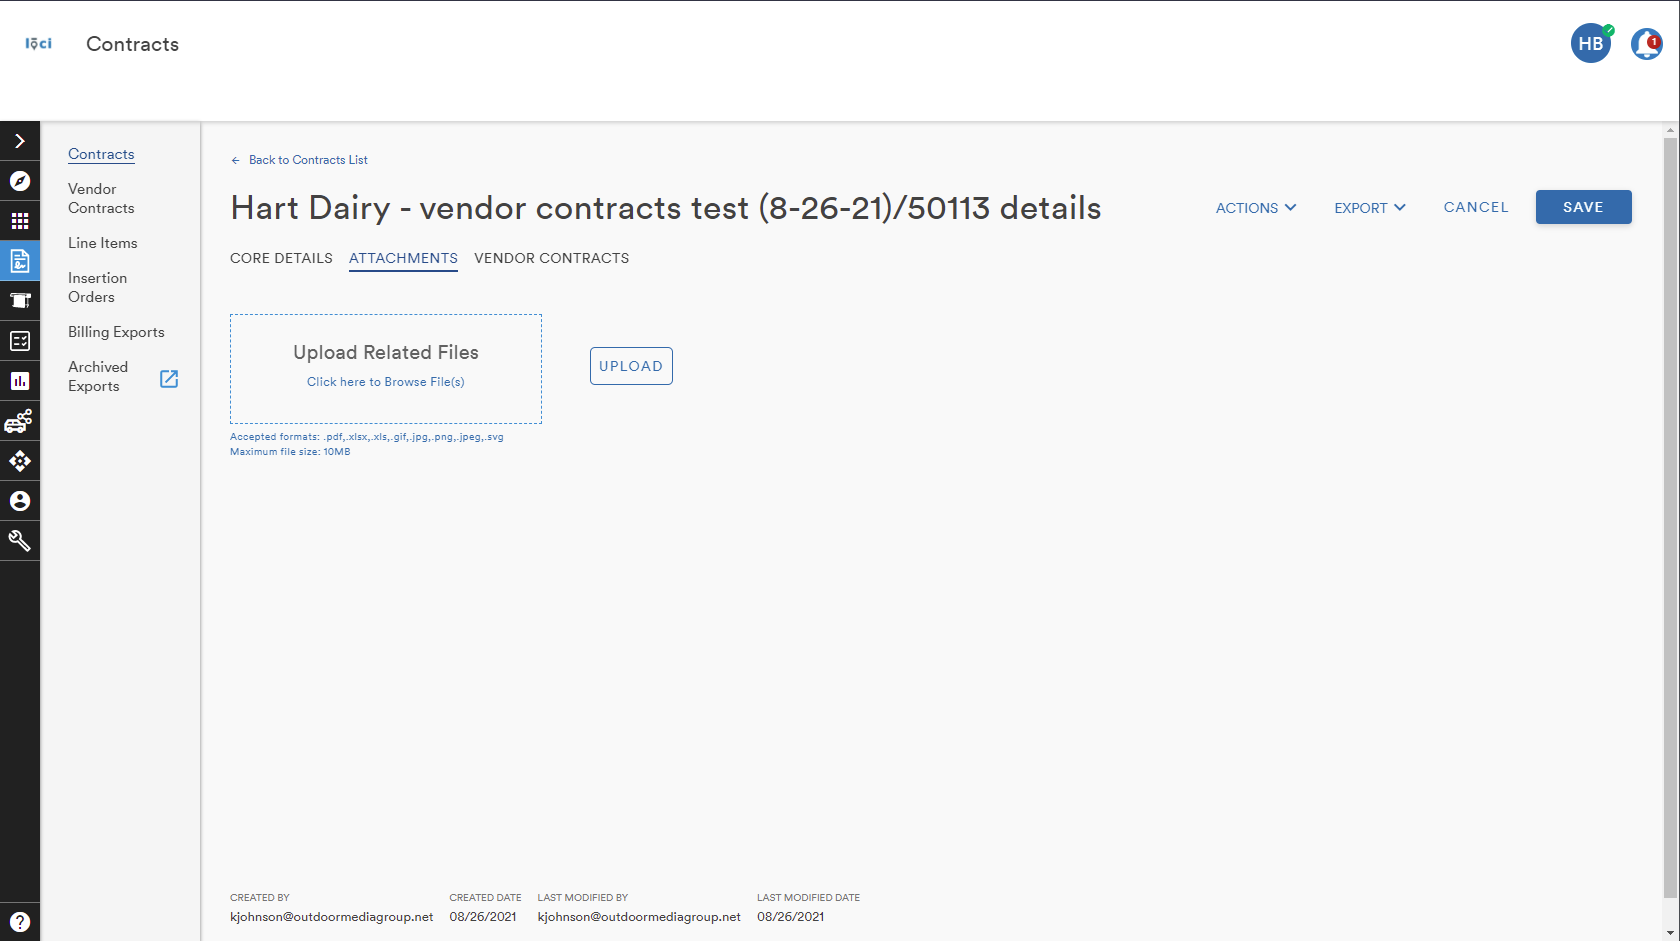
(learn more about Attachments here)
Vendor Contracts
Since LOCI is an interconnected system of modules, the Vendor Contracts tab presents the user with a table listing all of the Vendor Contracts related to the Contract
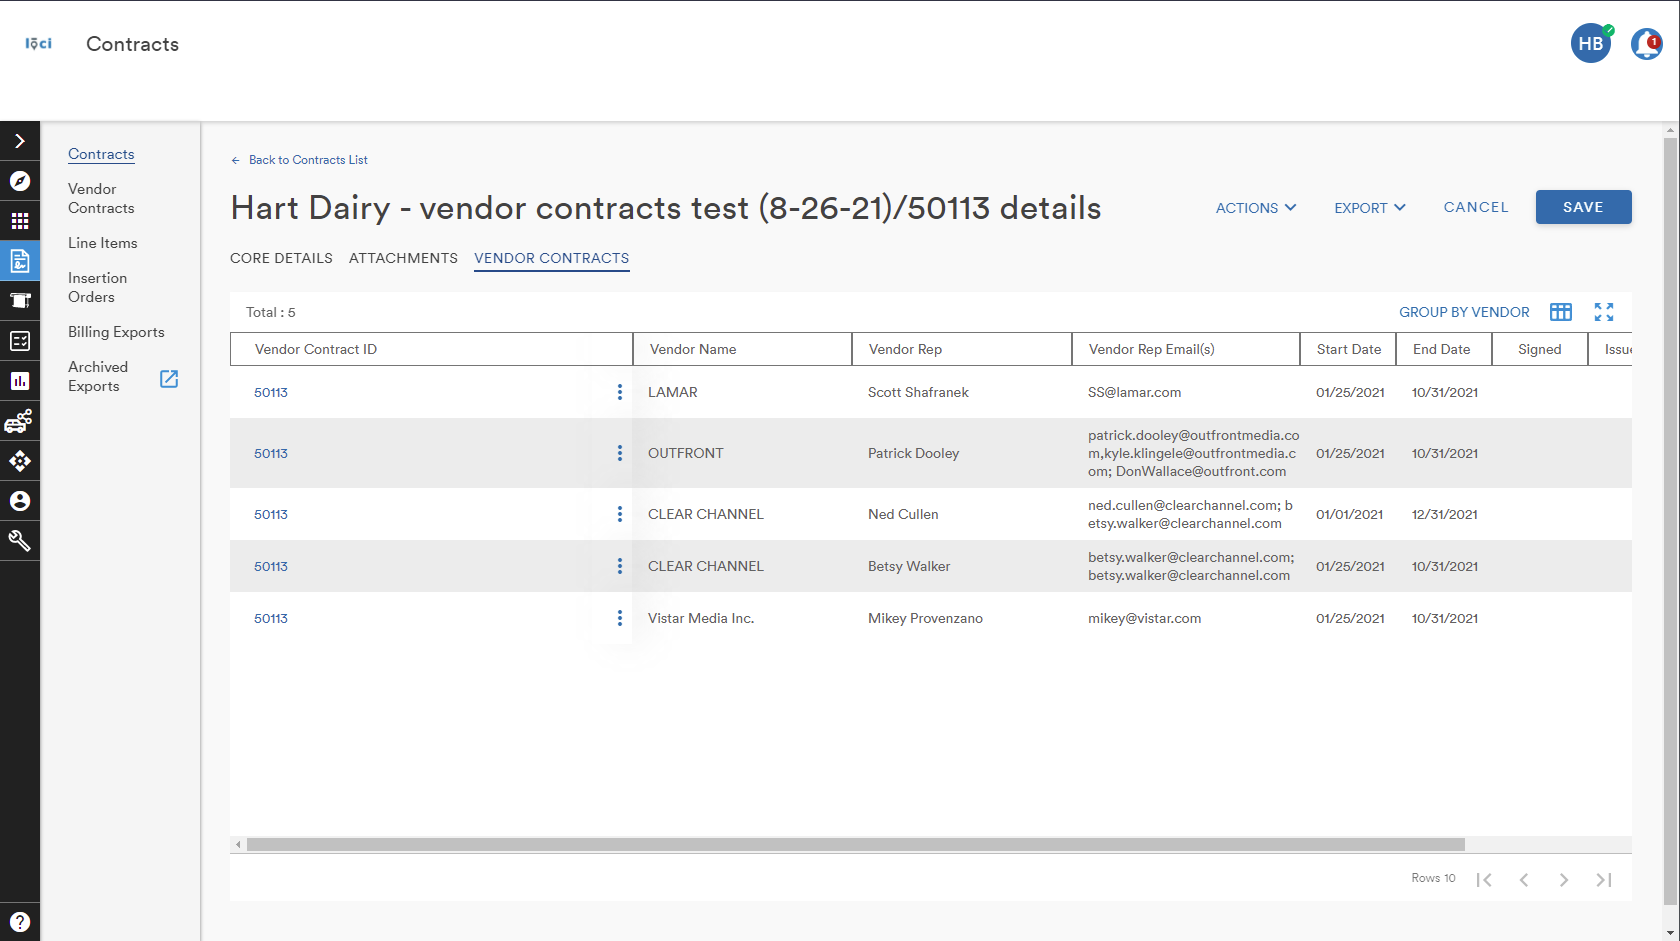
(learn more about Vendor Contracts here)
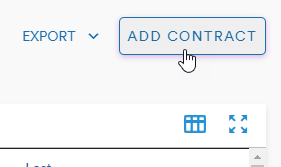
Add a Contract
Selecting the Add Contract button brings up the Add a Contract menu
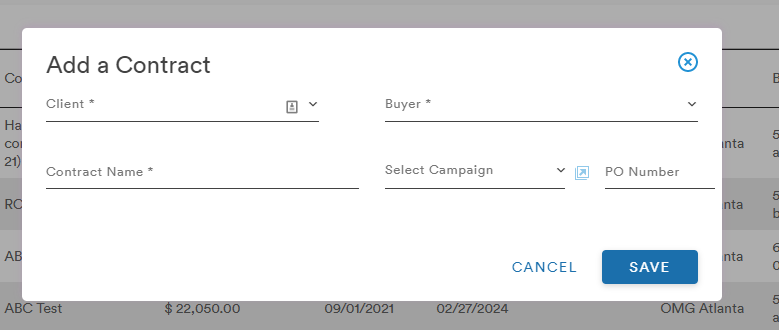
Once the fields have been filled, the user can select Save and will be presented with the Core Details page of their newly created Contract
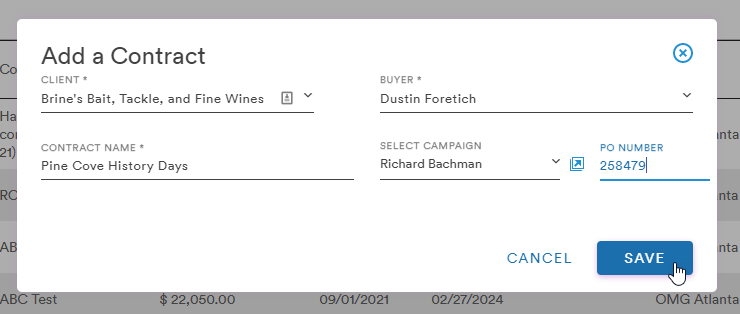
From here the user can begin adding or importing Line Items to associate with the Contract record
(learn more on Adding and Importing Line Items, click here)
Comments
0 comments
Please sign in to leave a comment.