
Once a Market Plan has been created, there are several options available to the user to change the details of the Plan
Edit Package
Once a Plan is created and loaded, hovering over the far-right edge of the plan row will appear a pencil icon with the tooltip "Edit Package", this will open a window at the bottom of the screen in which the user can adjust the plan goals and values as select from the Plan Generation page
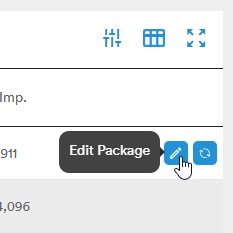
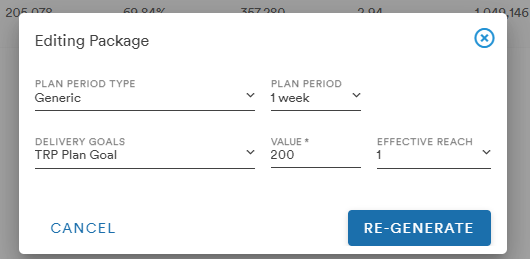
The Edit Package button will open a window at the bottom of the screen in which the user can adjust the plan goals and values as select from the Plan Generation page
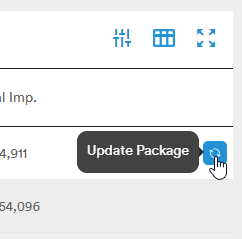
Clicking the Update Package button will apply any changes made to the package and load new data
It's important to note that editing the package is a localized change and only affects the package on which the edits were made. The goals set when the plan was created are the range within the system calculates its measures. If a higher delivery goal is needed, adjust and regenerate within the parameter menu first then fine-tune down from the package menu
Required Spots and TRPs
A user can open the Plan to view the details by selecting the Plan number and arrow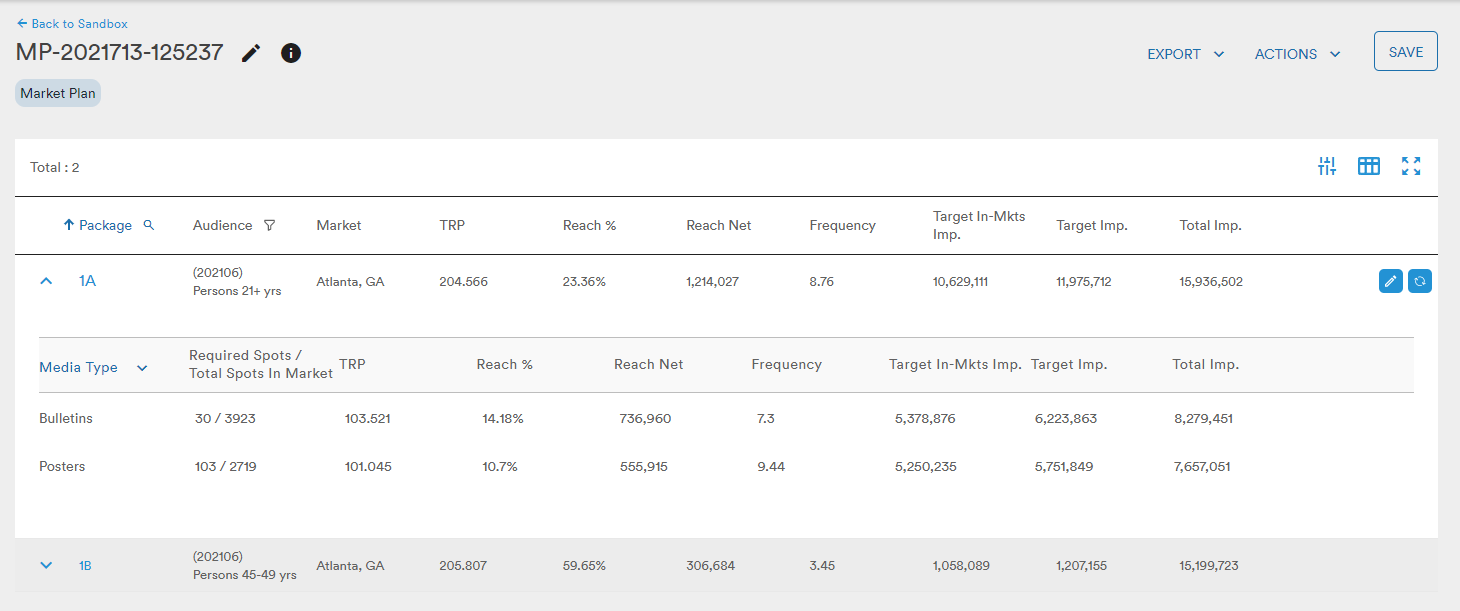
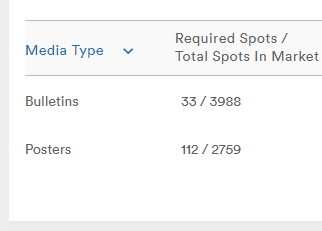
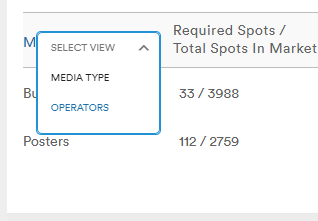
In the Package header, users can choose to display results by Media Type or Operator
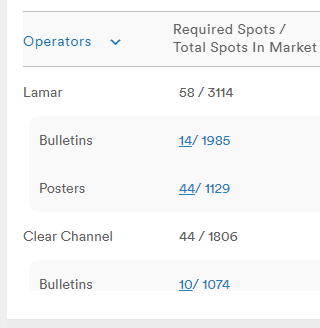
As in the previous Workspace, the user can change the number of required spots and the TRP value for a given operator by selecting the Operators dropdown

Once edits have been made, clicking the Update Package button will pull new data for the package
Deleting Media Types
For plans with multiple media types, users have the option to delete a media type from the opened package menu. There must be at least one media type for the Plan to present measures and data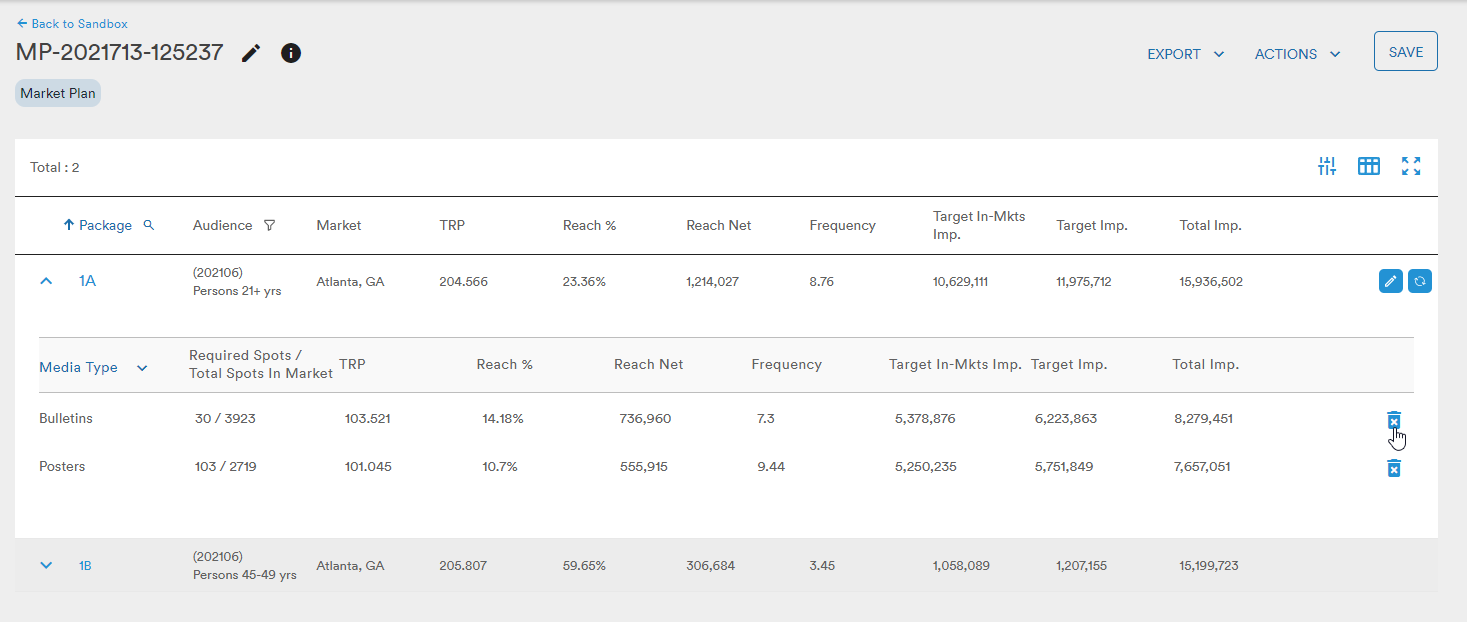
Media Types can be added or change in the Parameters under the Filter Inventory tab
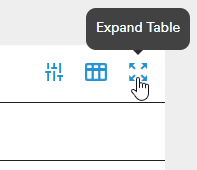
Parameters, Customize Columns, and Expand Table
At the top-right of the Plan are the Parameters and Customize Columns buttons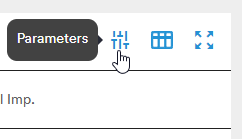
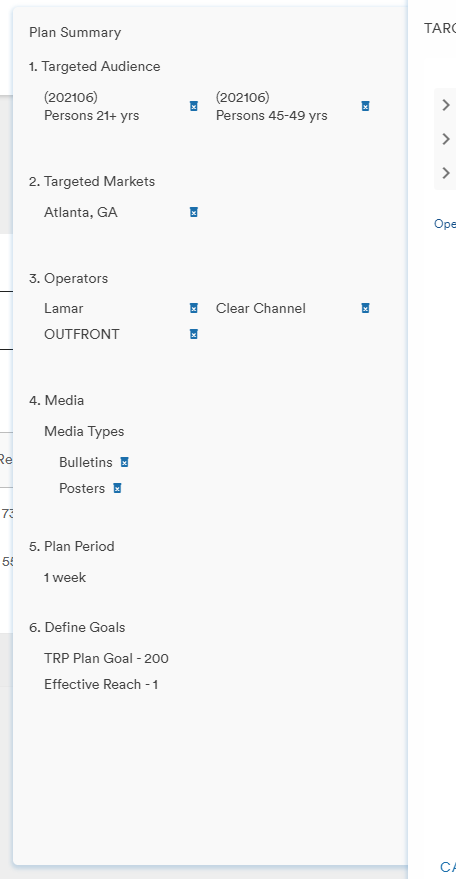
The Parameters button will bring up the Define Target and Filter Inventory menus 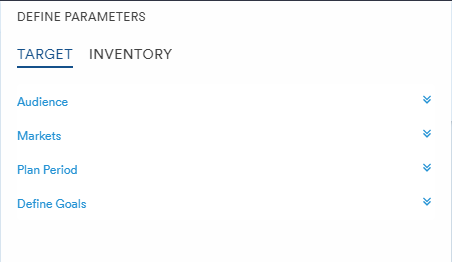

This menu will also display the Plan Summary in a side menu where users can easily remove the filtered selections of their plan
Once the details of the plan have been adjusted, the user can apply the changes by selecting the Re-Generate button at the bottom of the Parameters menu

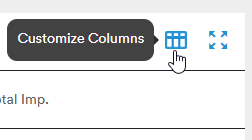
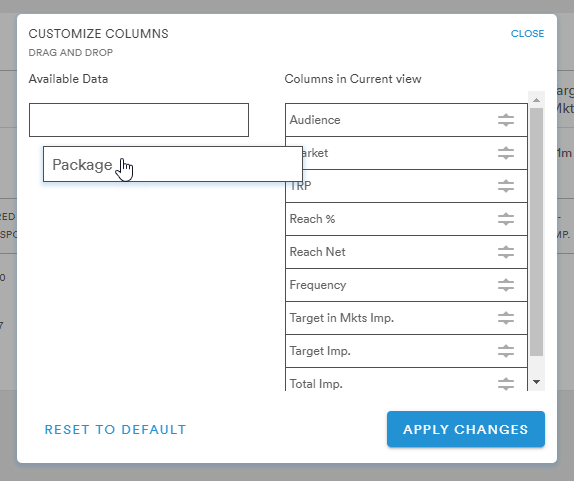
The Customize Columns menu allows the user to select which pieces of data they want to view in their plan
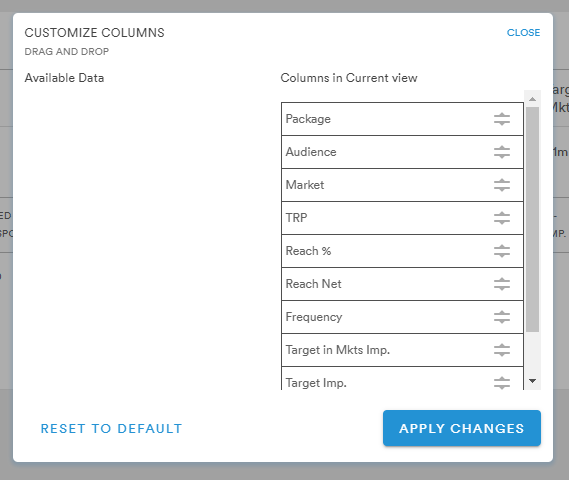
Data columns can be added or removed by dragging and dropping the tiles from one side of the menu to the other
(a more detailed look at Customized Columns can be found here)
Export and Actions
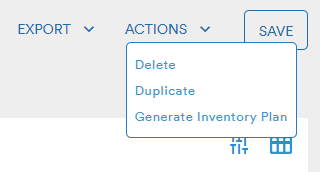
At the top right of the Plan are the Export and Actions dropdown buttons

The Export button will generate a CSV of the Market Plan for the user
The Actions button allows the user to Delete or Duplicate the Plan, or generate an Inventory Plan using the Market Plan parameters
Selecting Delete will bring up the Delete Confirmation window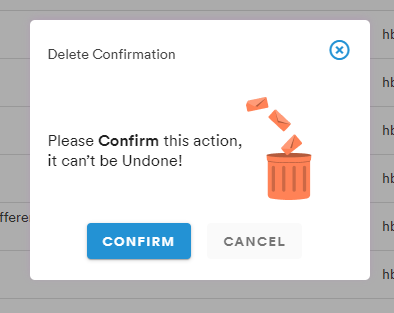
Selecting the Duplicate button will prompt the user to create a name for their duplicated plan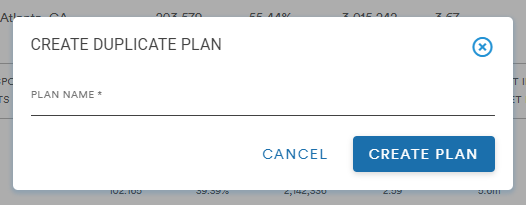
Selecting the Create Plan button will take the user to the newly duplicated plan page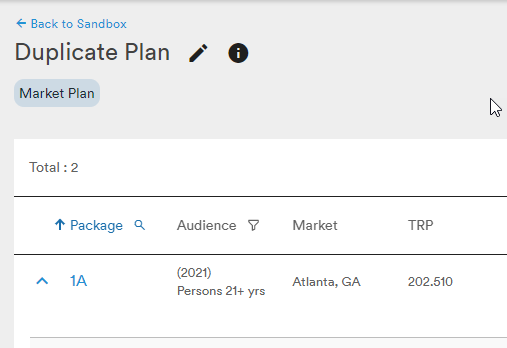
Selecting Generate Inventory Plan allows the user to utilize the parameter of their Market Plan to generate an Inventory Plan
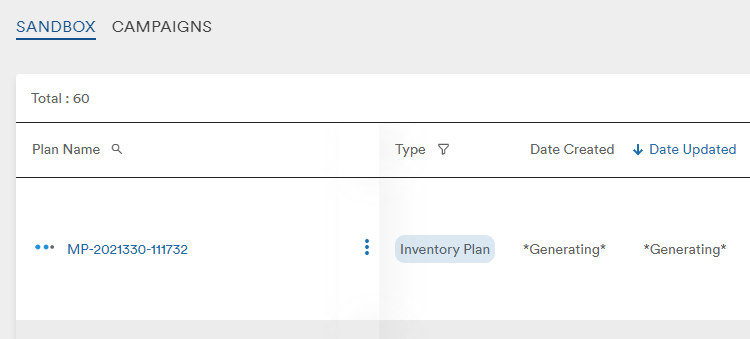
Often times Inventory Plans generated via this workflow will fail to pull measures
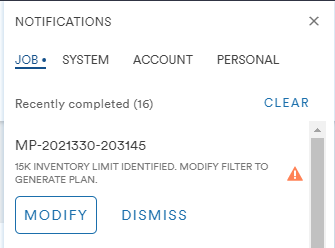
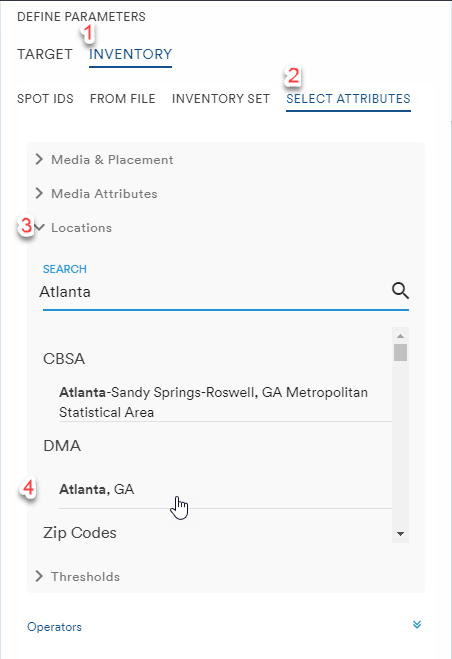
This is due to an Inventory Plan's use of location filtering which is not applicable to Market Plans. If the 15,000 inventory limit is reached, select the Modify button from the Notification panel, this will bring up the Parameters menu in the new Inventory Plan. From here, the user can apply a location filter to their plan
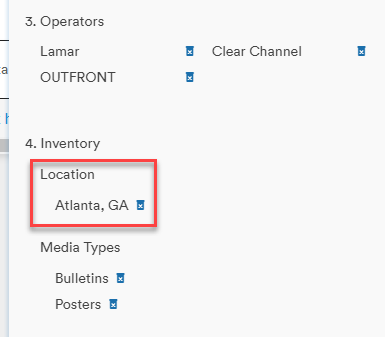
The added filter will appear in the Plan Summary panel under the Inventory header
Clicking the Re-Generate button will run the plan and pull data with the Location filter included
Operators
If users have selected All Operators or have chosen not to select any, their plan will use the Market and Media filters to determine which Operators have inventory in the selected market
In this example, the package is for a 1-week plan targeting Persons 21+ in the Houston DMA using Roadside media with a goal of 500 TRPs. All of the Operators have been selected so the plan package displays all operators with Roadside media in the market
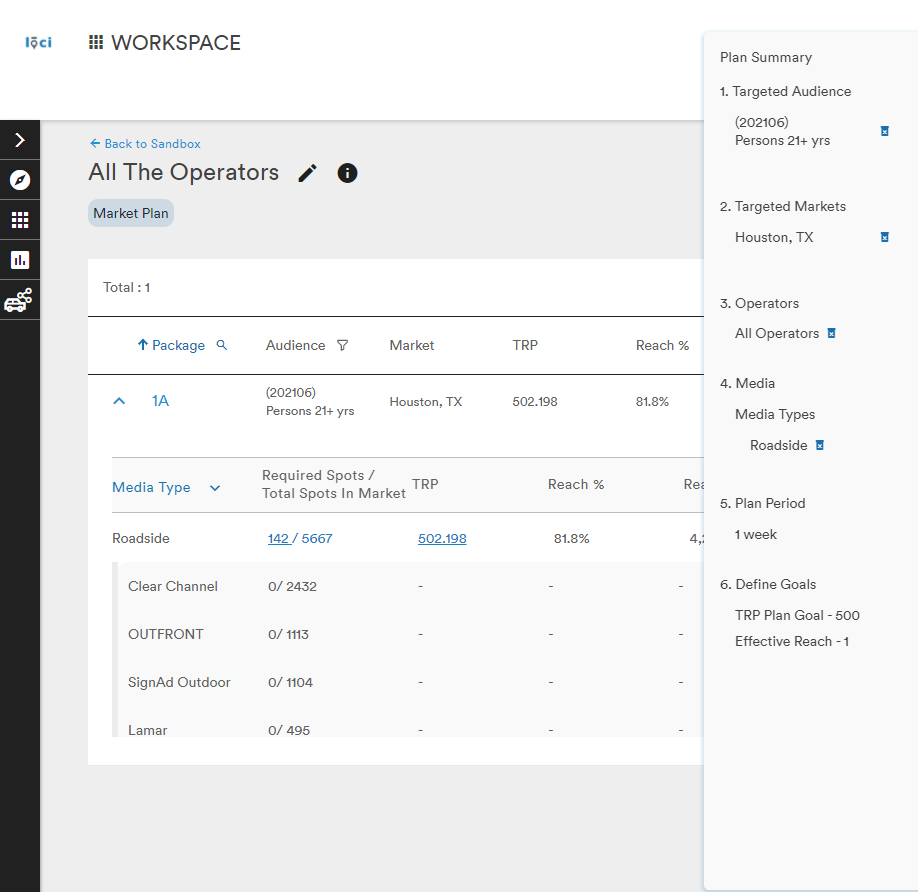
All of the listed Operators show 0/____ for their Required Spots/Total Spots in Market. Since no specific Operators were filtered, their inventory was not accounted for in the metric calculation
The Required Spots and TRP goals can be edited on the Media type line as described previously but are unavailable for editing at the Operator-level
Selecting Operators will have the opposite effect on the displayed plan
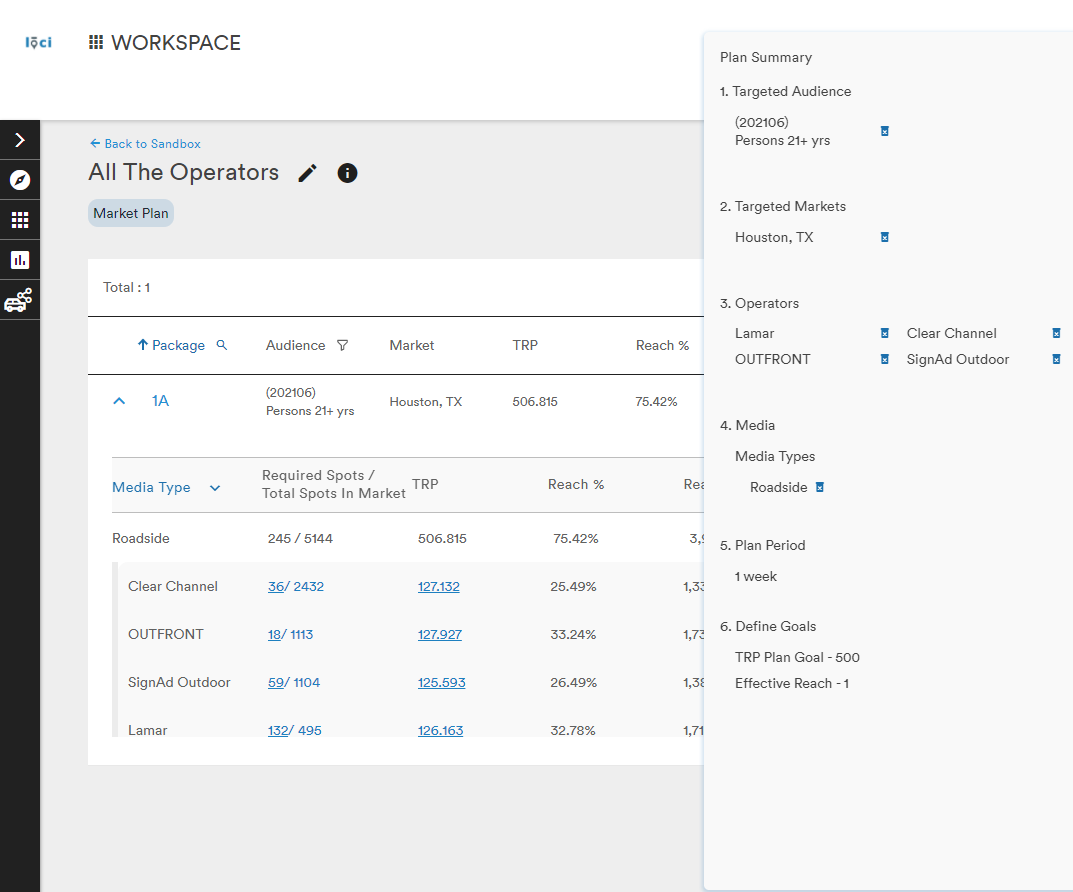
With the specific Operators filtered, the user can now modify their results by adjusting the Required Spots and TRP goals Operator-by-Operator
When filtering with specific Operators, there is a limit of 20 Operators in a plan. If more are selected, the user will be presented with an error message

Comments
0 comments
Please sign in to leave a comment.