
Creating a Market Plan in Workspace is simple and begins by selecting either the Add Plan from the Sandbox page or by selecting either the Add Plan or Add Campaign button from the Campaigns page. In this article, we will detail the steps a user will follow to create a Market Plan after selecting first the Add Plan button and then the Add Campaign button


Method 1: Add Plan
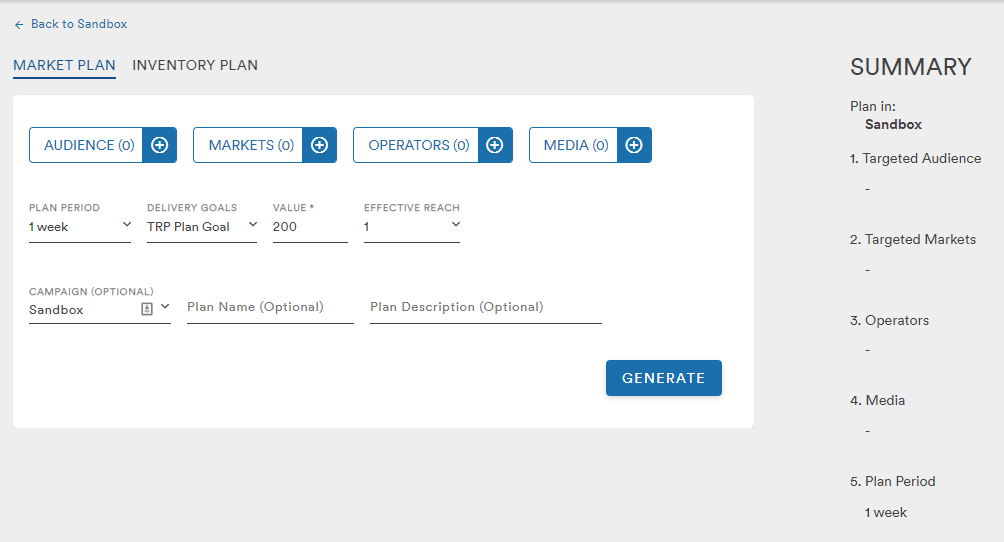
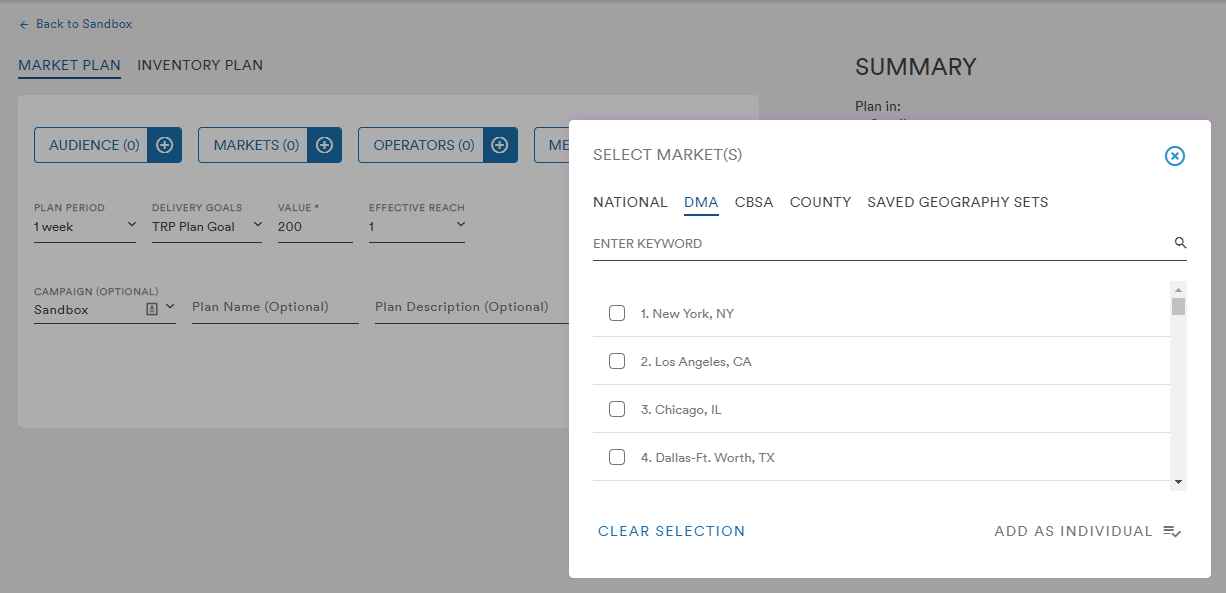
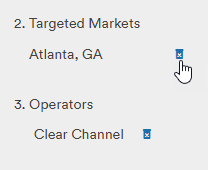
When creating a Market Plan from the Add Plan button, the user is able to select their Audience, Market, Operators, and Media. These three attributes are required to generate a Market Plan
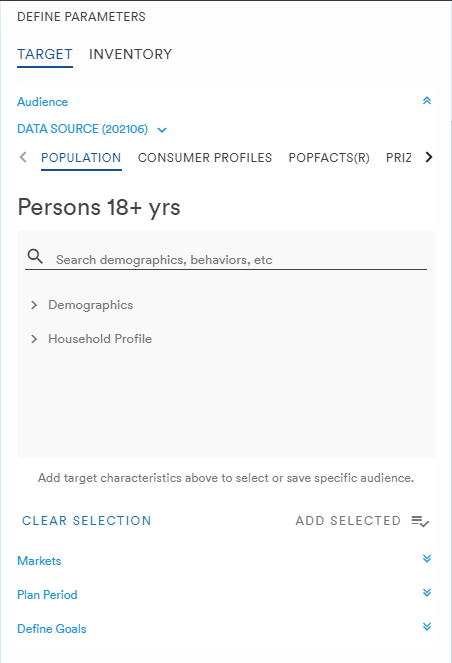
The Audience menu provides the user with the option to select their audiences using the most recent mid-year forecast (202106), the 2021 Data Source, or the legacy 2020 Data Source from a dropdown
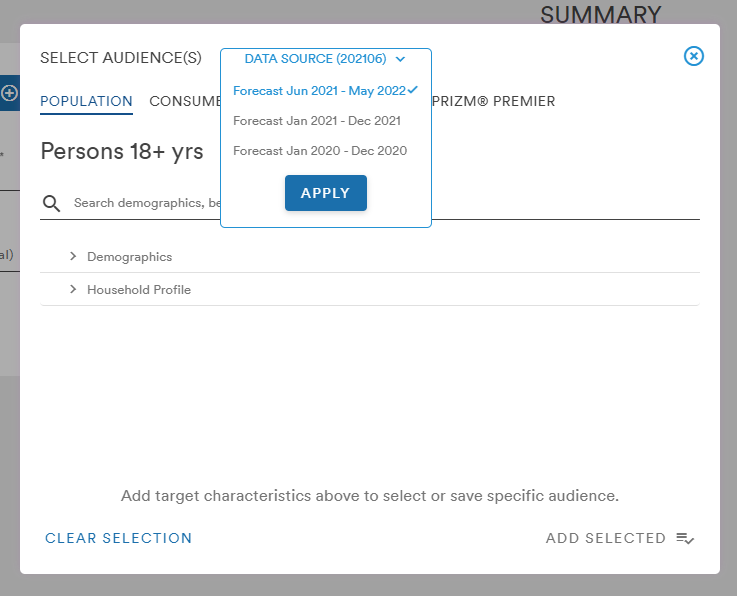
(note: sorting and filtering are now available for 2021 and 202106! check it out here)
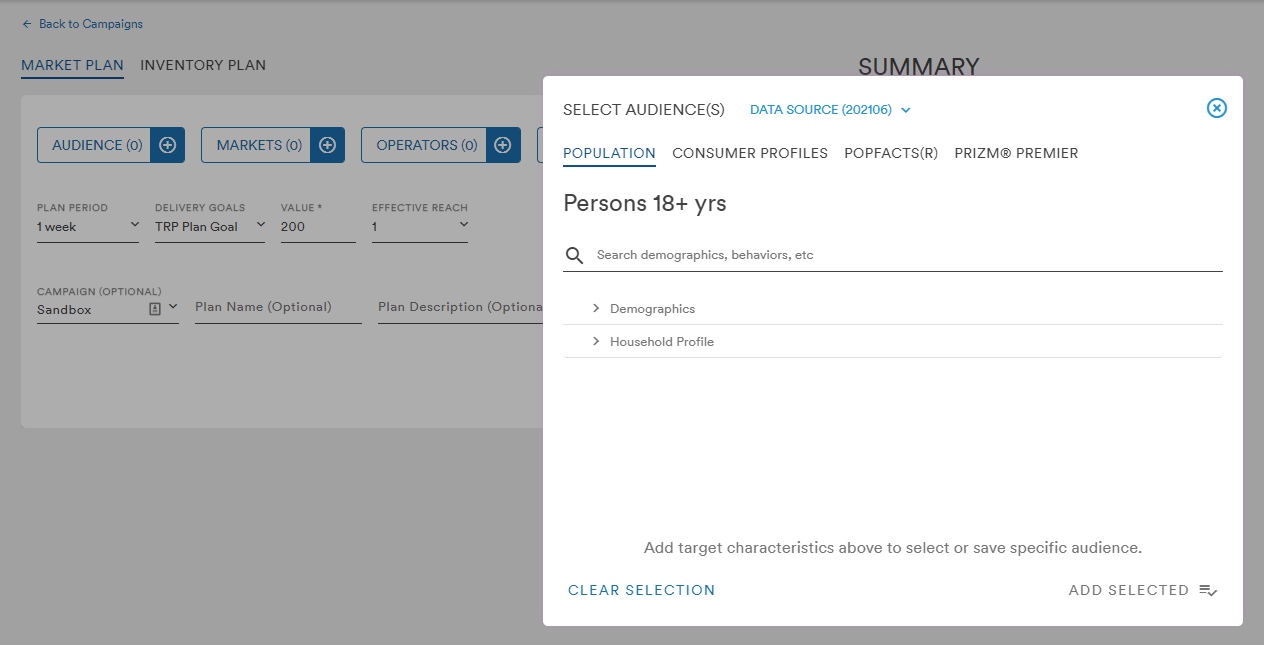
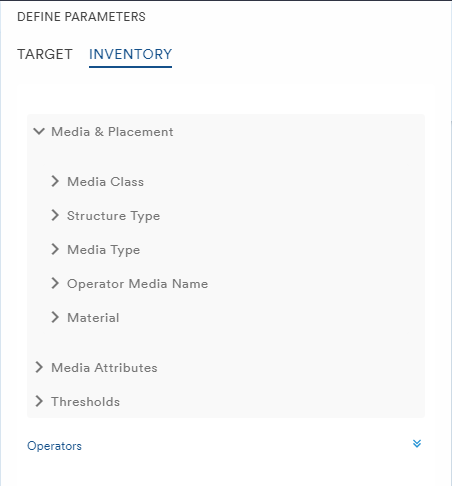
The Audience, Market, Operator, and Media menus in the updated Workspace are structured the same as in the legacy Workspace:
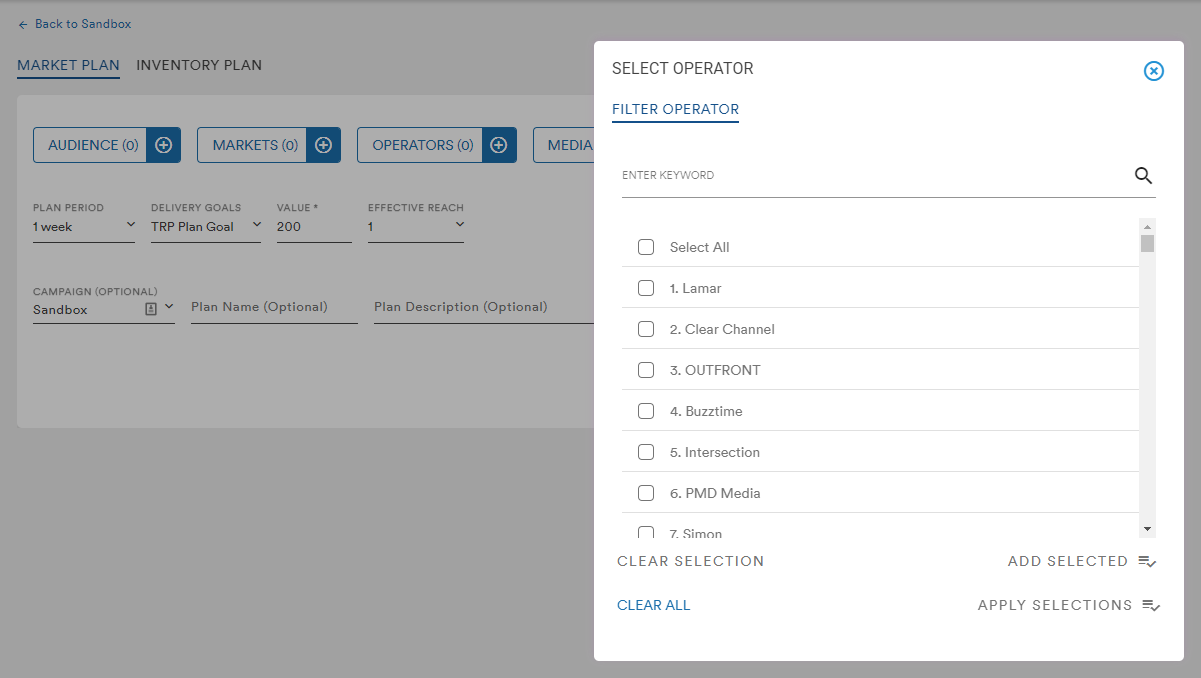

When selecting Media, the user is required to first click the Add Selected button before the Apply Selections button
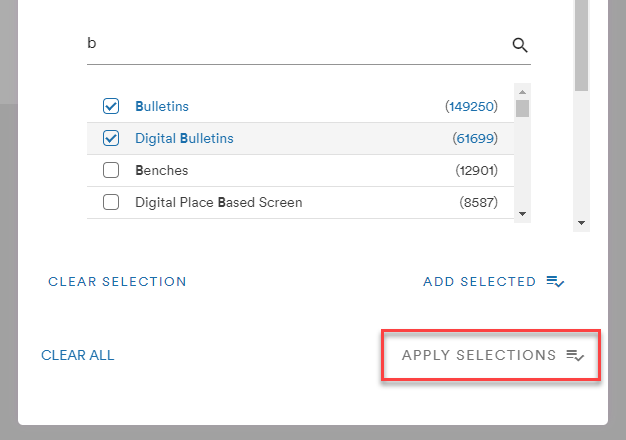
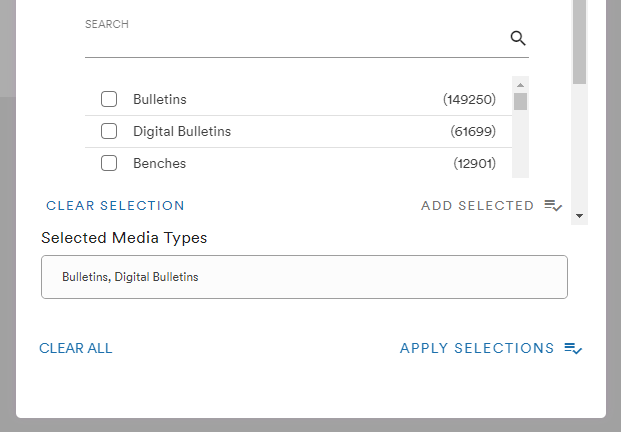
The user will be shown a confirmation of their media selection and the Apply Selections button will be available to add the media to the Inventory Plan
Once these selections have been made, the user can also adjust the following details:
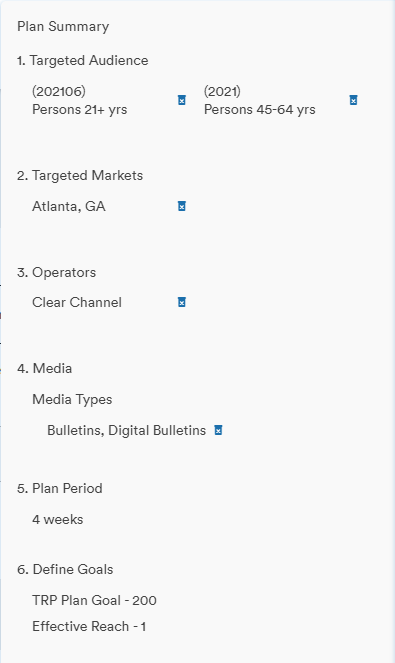
- Plan Period: 1, 2, 4, 8, 12, 26, or 52 Weeks (26 & 52 weeks are only available for 2021 and 202106 audiences)
- Delivery Goals and their Value (TRP Goal, Target In-Market Impression Plan Goal, Reach % Plan Goal)
- Effective Reach (1 or 3)
The plan goals are the range against which the measures and data are pulled for the completed plan. It's a good practice to set the plan goal higher than needed so the value can be edited down more minutely on the package level (for more on editing a Market Plan, click here)
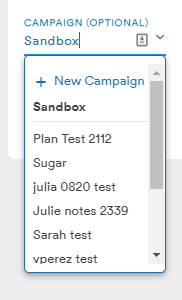
The default Campaign in this method is the Sandbox. The Sandbox is a permanent project in which the user can create as many scenarios as they like. The user can use the dropdown to assign this new Market Plan to any existing Campaign or create a new Campaign using the +New Campaign link
Selections made in the menus will be reflected in the Summary column to the right

If the user needs to remove a filter, hovering over the selection in the Summary list will make a trash can icon appear which can be used to delete the filter
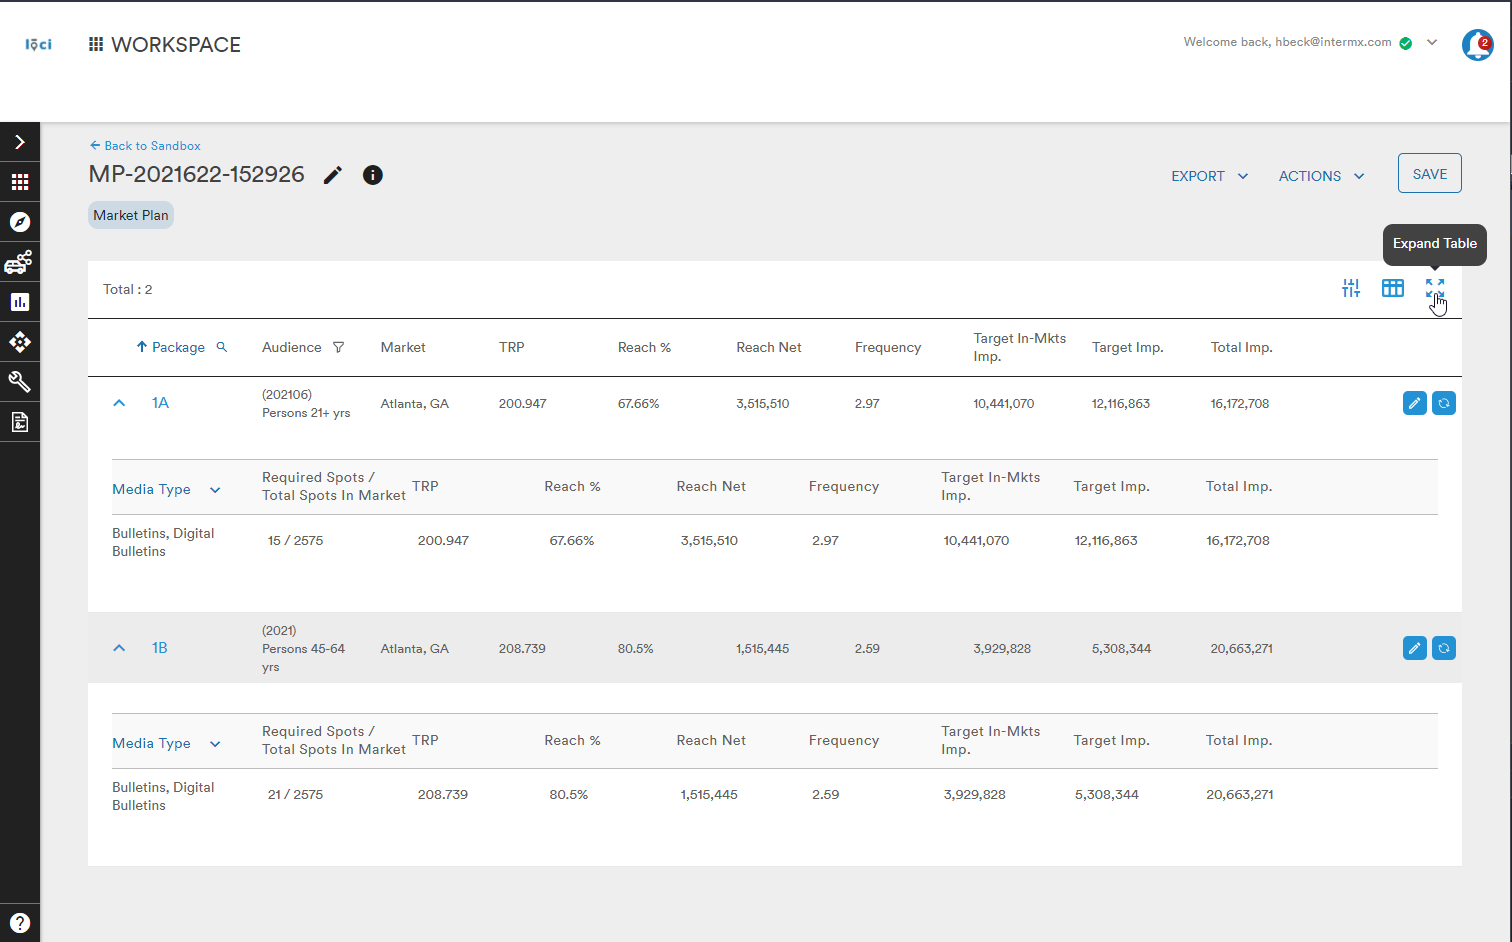
Clicking the Generate button will begin the process of pulling data for the plan and the user will be brought to their Market Plan which will fill in data as it becomes available
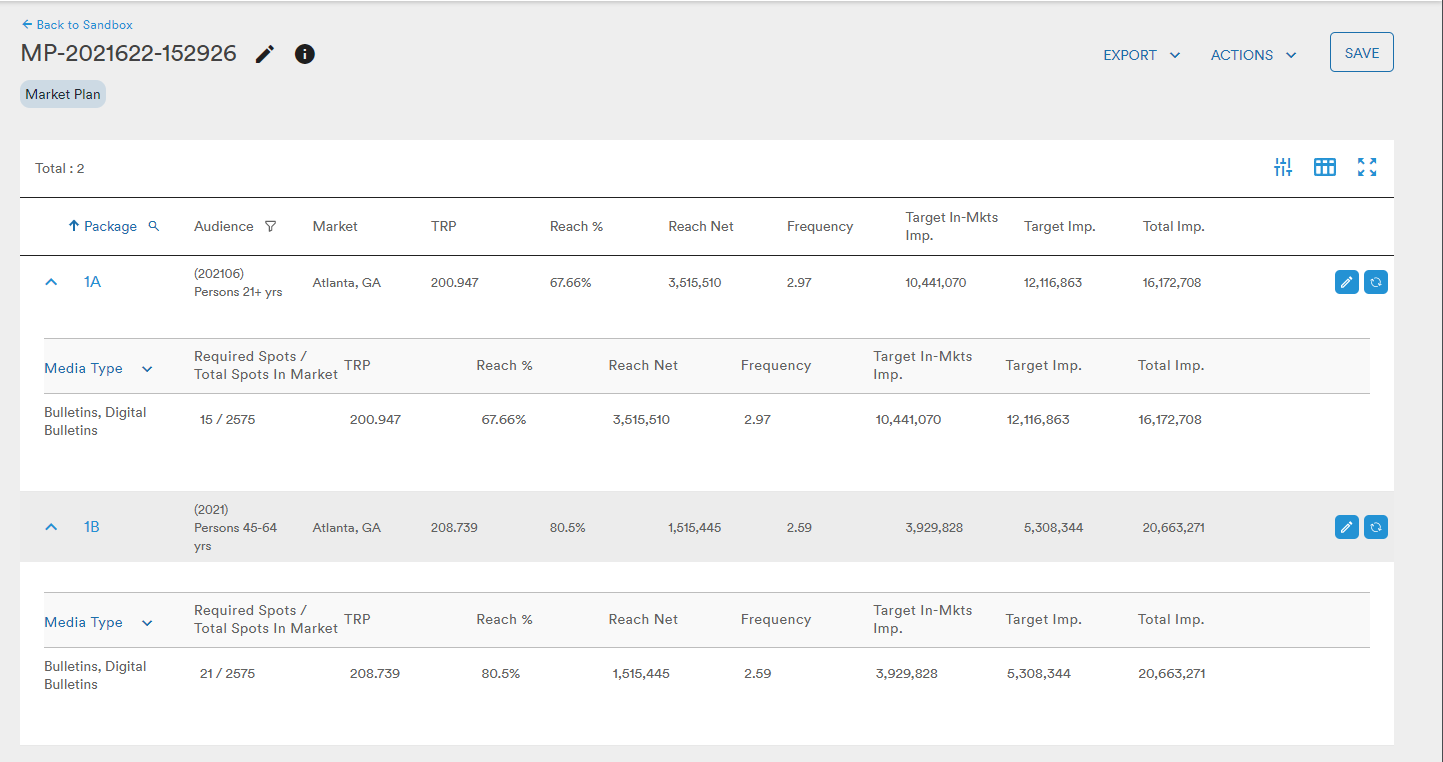
With the Market Plan loaded, the user is given three options at the top of the Plan:
- Export the Market Plan as a CSV
- Delete, Duplicate, or Generate an Inventory Plan based on the Market Plan's parameters under the Actions dropdown
- Save the scenario
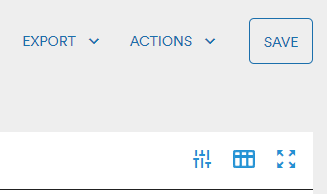
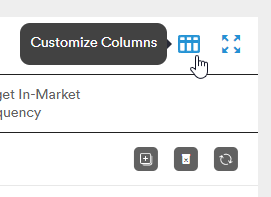
The user can also select the Parameters or Customize Columns icons to further edit their Market Plan
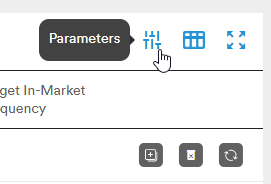
The Parameters menu allows the user to adjust their Audience, Market, the Plan Period and Goals, as well as Filter Inventory
The Customize Columns icon allows the user to select which data sets they want to see in their Market Plan. Edits to the columns are easily made by dragging and dropping the selected headings from one side of the menu to the other
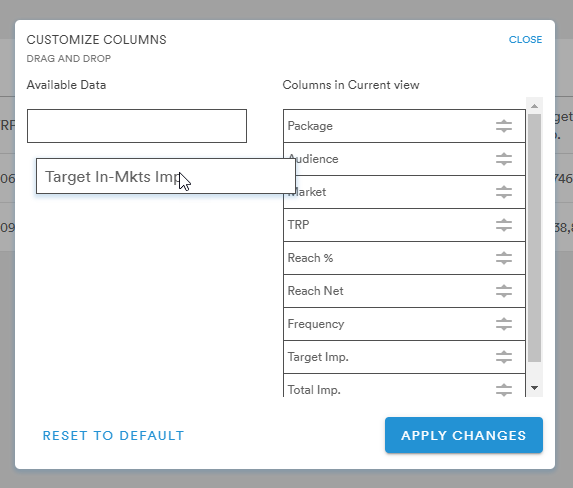
(a more detailed look at the Customize Columns buttons can be found here)
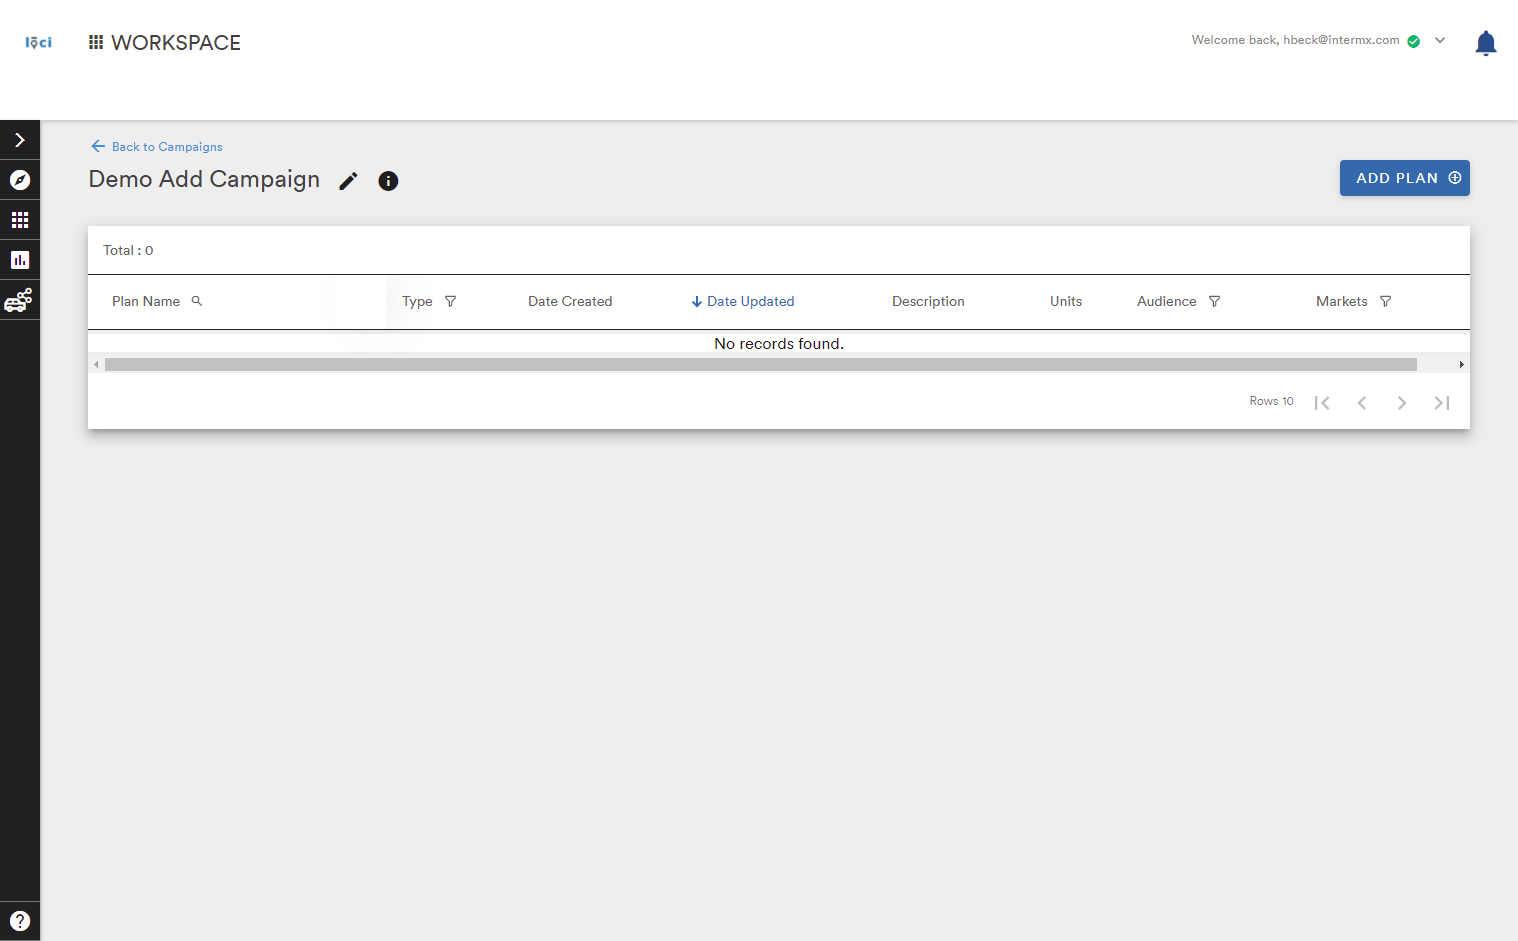
Method 2: Add Campaign
Selecting the Add Campaign button from the Campaigns page prompts the user to create and name their new Campaign. A description is optional
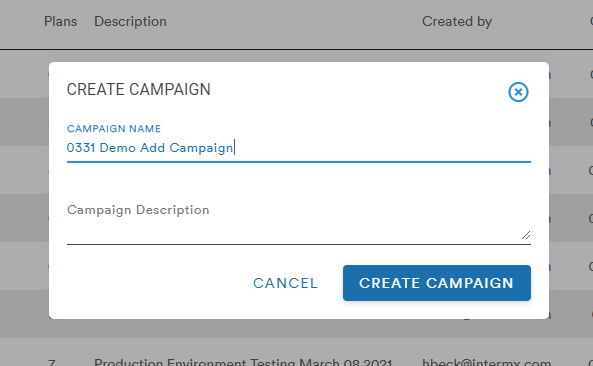
Once the Campaign is given a name and the Create Campaign button selected, the user is taken to a blank Campaign page. From this page, the user can add a new plan by selecting the Add Plan button
This brings the user to the same Market Plan creation page from the beginning of Method 1 but the Campaign has been named
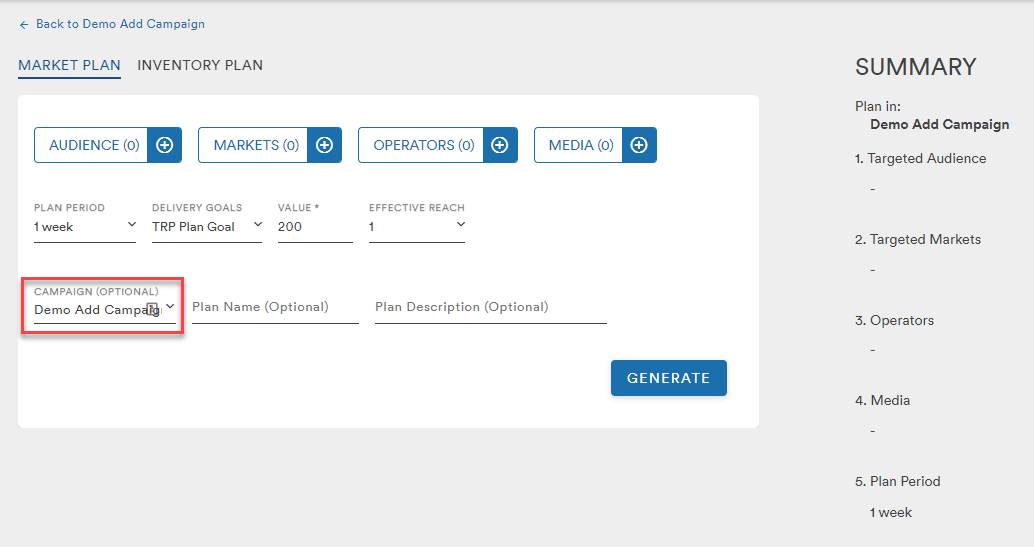 From here, the user can select their Audience, Market, Operators, and Media to generate their Market Plan as previously described
Comments
0 comments
Please sign in to leave a comment.