
Selecting the Large Format Printer icon from the left-hand navigation panel, users are taken to the Jobs Module
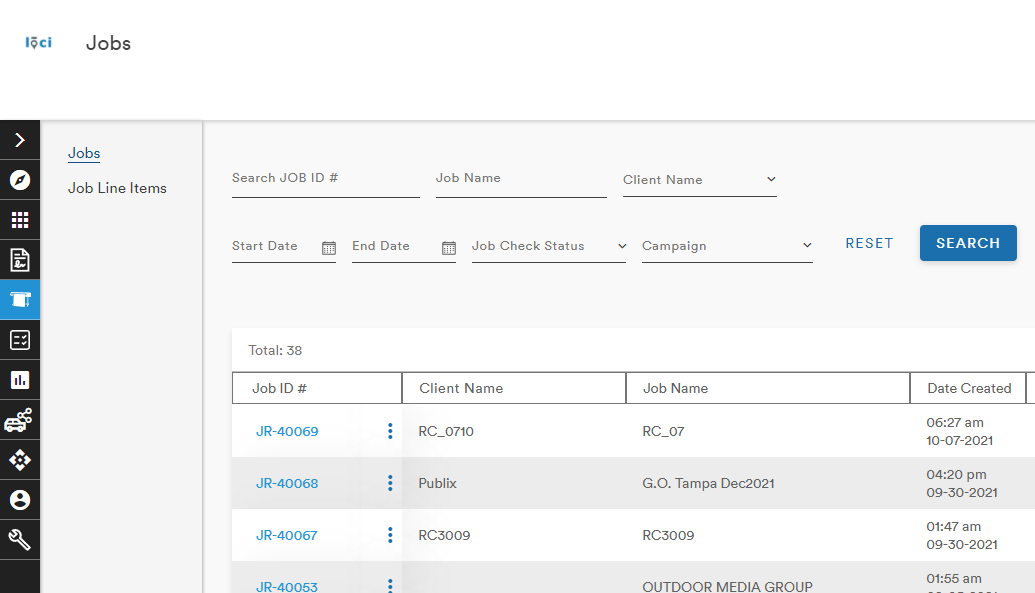
Clicking the Add New Job button brings up the Add a New Job menu
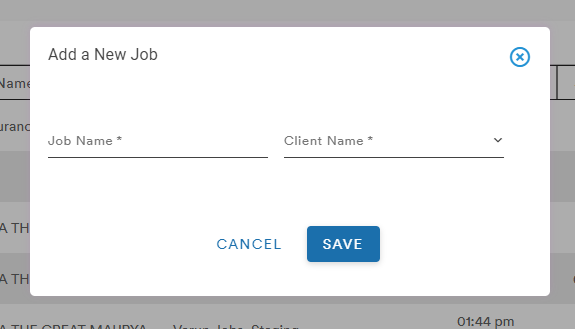
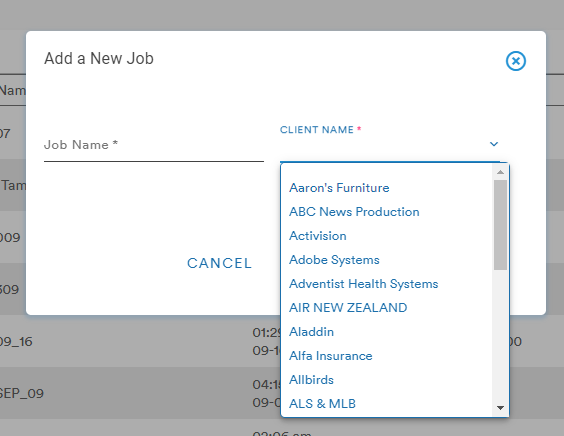
A Job Name is required and a Client Name can be chosen from the dropdown menu
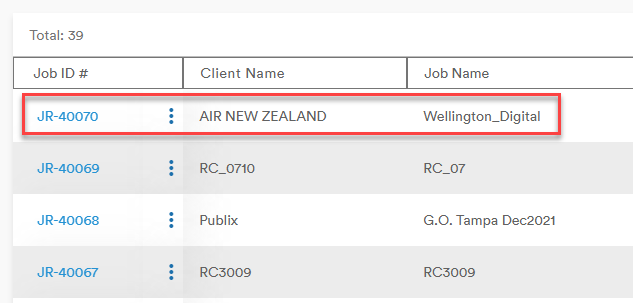
Clicking Save adds a line to the bottom table and assigns a Job ID# to the new job
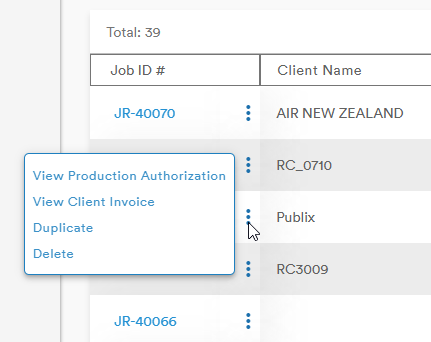
The Action button (three stacked dots) next to the Job ID# gives the user four options:
- View Production Authorization
- View Client Invoice
- Duplicate
- Delete
Selecting the Job ID# brings the user to the Core Details page
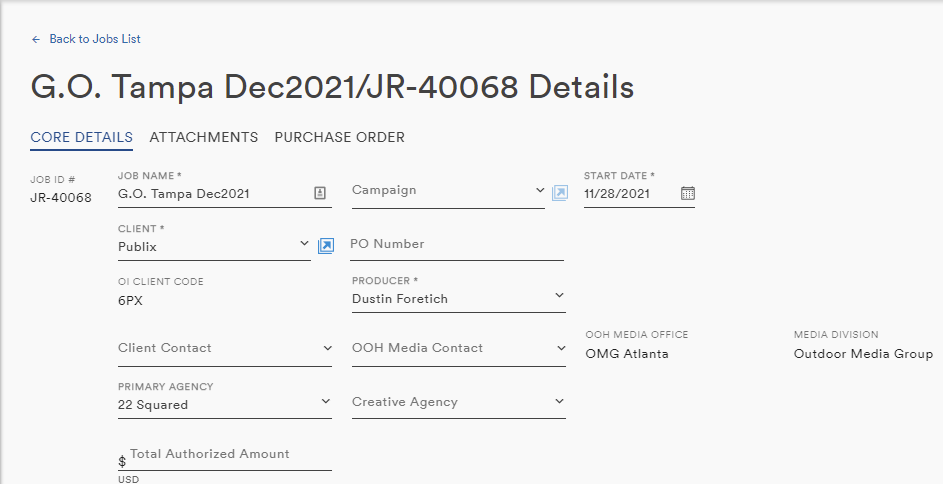
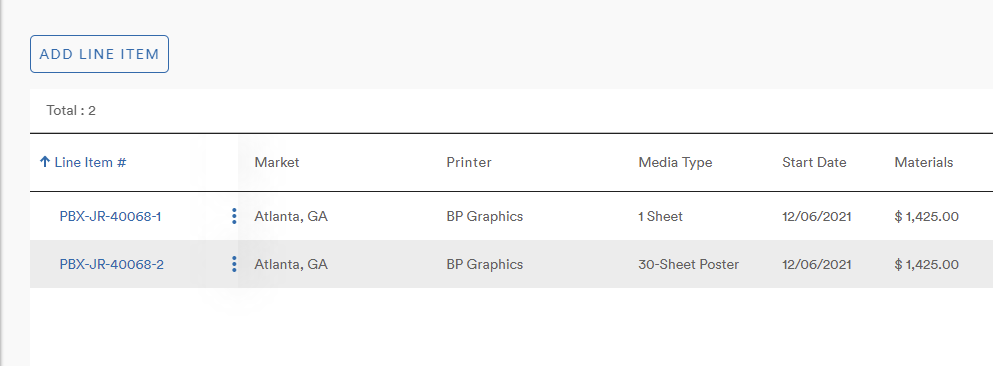
From the Core Details page, the user can change details about the Job, add Notes, move the Job through the pipeline via Checkpoints, and add Line Items (learn more about Checkpoints and Line Items)
The Attachments tab allows the user to upload files and documents to the Job by either dragging-and-dropping from the user's computer or clicking the Upload Related Files field to browse

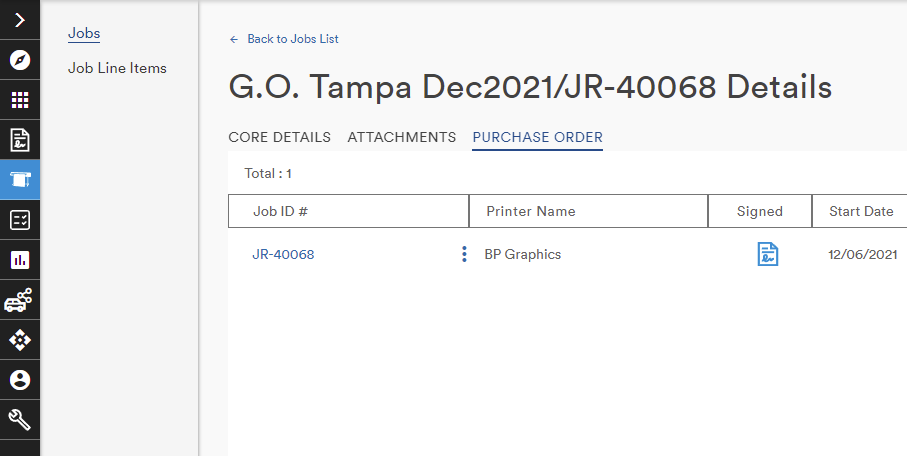
The Purchase Order tab presents the user with a table of POs associated with the Job
Comments
0 comments
Please sign in to leave a comment.